

Hello again!
I am finally getting around to posting Part 3
of "The New Slipcover For The Old Ugly Sofa".
If you are just happening upon this post,
you can read Part 1
and then Part 2
HERE.
Part 3 is all about how I made the
new cushion covers.
Happy Happy Me!!

As I showed in Part 1,
I had measured around the circumference of the
cushions for the boxing measurement.
Part of this boxing would include the zipper.
So the zippered portion of the cushion cover would
have to be in two pieces.
The original (ugly) cushion covers had the zippers
measured to 30 inches,
so I just used that same measurement.
For each cushion, I cut 2 pieces,
each the length of the zipper.
Then I sewed them together with a
basting stitch and pressed
the seams open.

I cut the length of the zipper roll
and made sure I had a zipper pull on it!
I had to be careful not to zip that pull off
before I stitched the ends closed.

I pinned the zipper under neath the seam.

Then I sewed the zipper in place using my zipper foot.

As I got close to the end of the zipper,
I carefully opened up a few inches of the seam
with my seam ripper.
Then I lifted my presser foot with the needle still down.
I very carefully pulled the zipper open and past
the presser foot.

Next, I sewed the long boxing piece to
the zipper boxing panel, on each end.
I reinforced this seam and top-stitched it
for strength.
This boxing panel was the length of
the circumference of the cushion,
minus the zipper panel length,
plus about 3 inches for seam allowance
and a little zipper protection.

Then I tried the whole boxing strip on the ugly cushion.
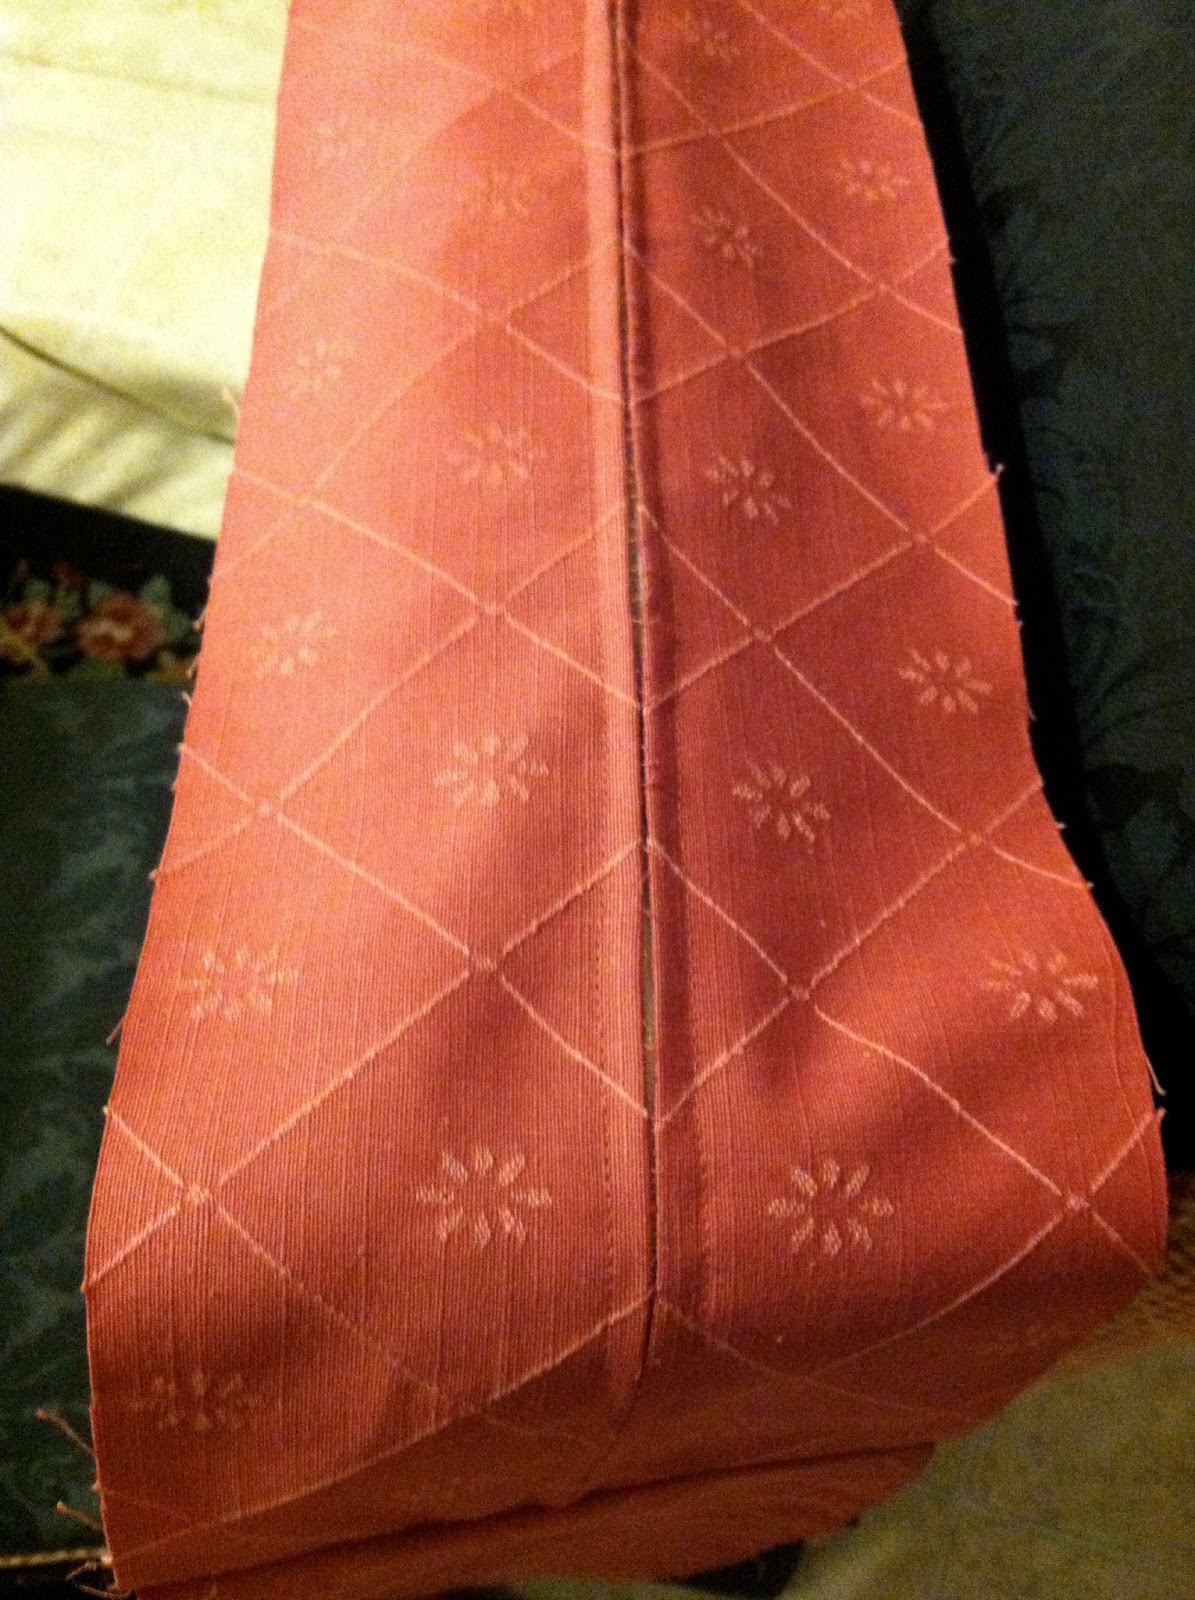
This is the zippered panel.

After I tried the boxing panel on the cushion,
I was able to pleat the excess fabric over the
I was able to pleat the excess fabric over the
end of the zipper, to create a protective
fold over the zipper head.
This will prevent that zipper pull from rubbing and
wearing the other fabric out.

After I got the boxing the correct size for the cushion,
I pinned the piping all around both edges.
Notice the cut ends of the piping on each side.

I stitched the piping all around and then left
the ends unstitched.

Where the piping overlapped, there was
an excess of the piping cord.
So I pulled it out and cut it off.

Then I folded the excess piping fabric and
wrapped it around the other side of the piping.
The cut ends of the piping cord met I could
lay the piping fabric over them.

Then I was able to pin the piping down

and stitch it together with less bulk.
Once the boxing was all finished and piped,
it was time to wrap the cushions.

Uh wow.
Lets just get that covered, shall we?
As each of these foam cushions was actually
in pretty decent shape,
I decided to just wrap them with
fresh batting.
I didn't even bother taking off the current cover.

As I wrapped them tightly, smoothing out the wrinkles,
I pinned the edges in place.

And then I stitched it all in place,
with a doubled thread for strength.

I wrapped the corners and stitched
them down to the sides.

I cut 6 identical rectangles,
each the dimensions of the cushions plus
1 inch on each side for the seam allowances.

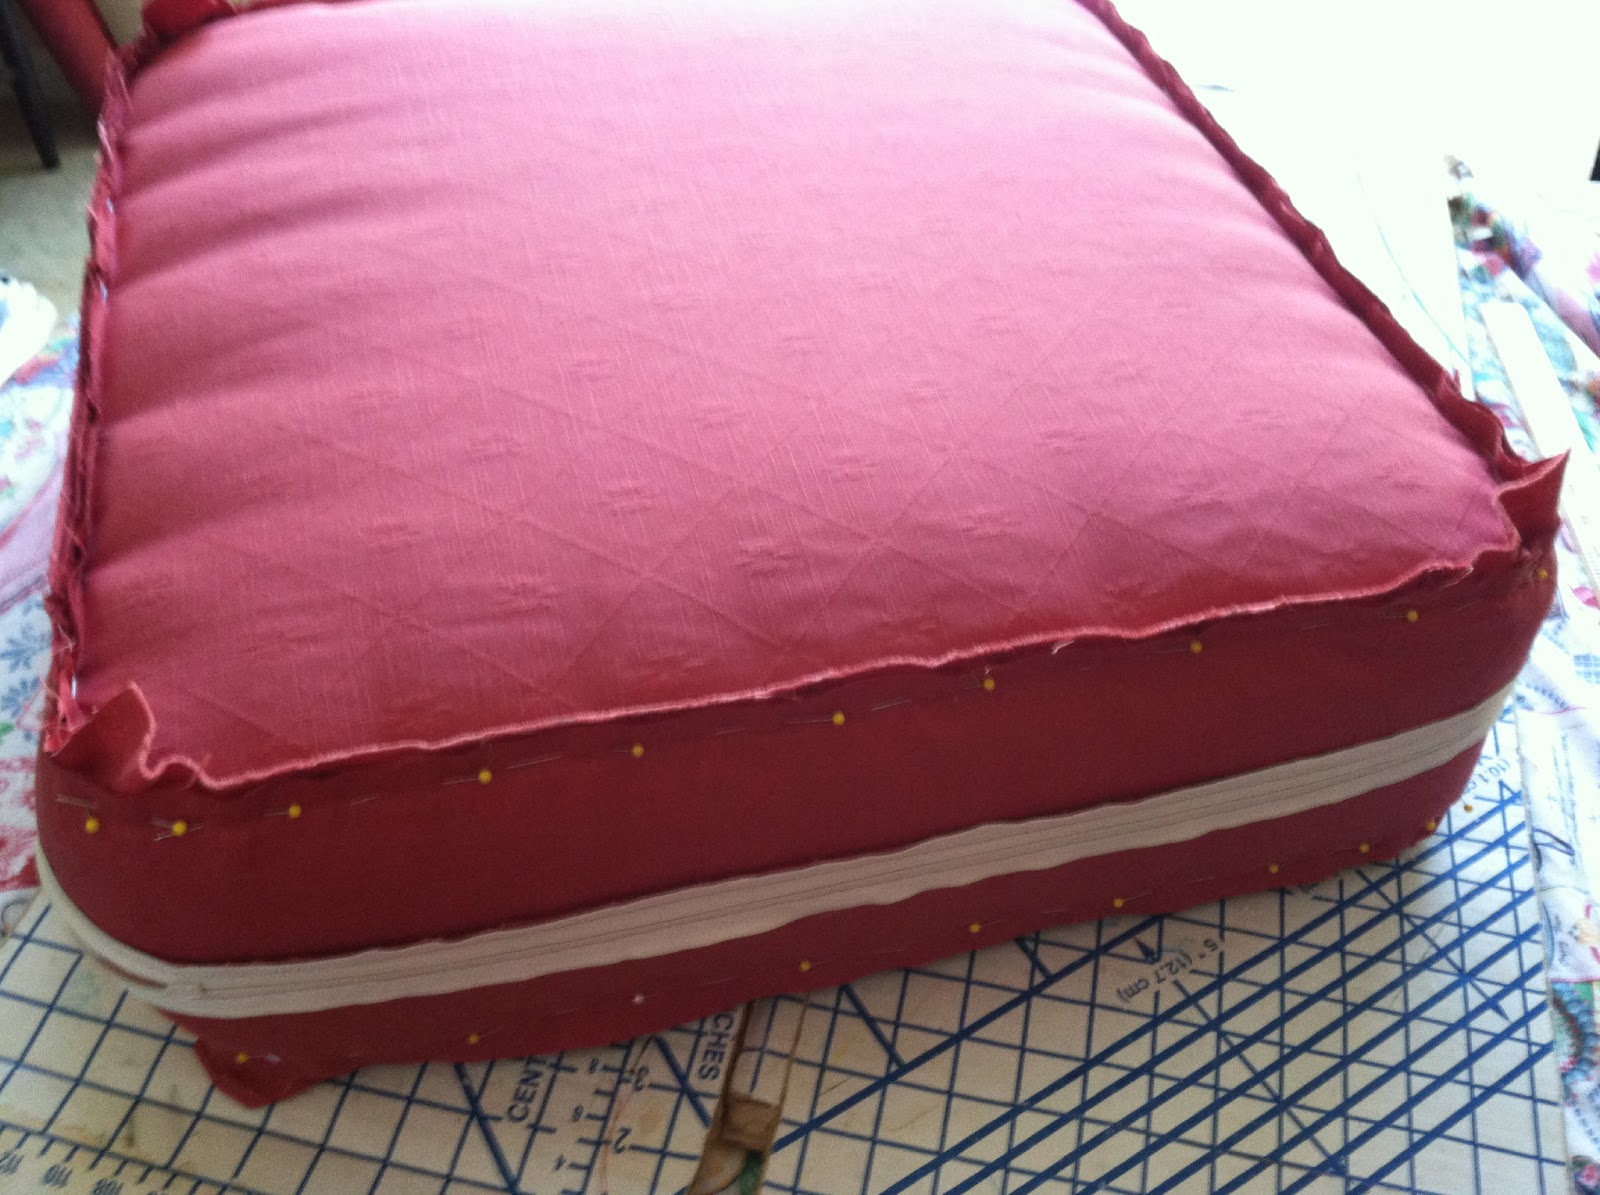
Then I put the boxing on the wrapped cushion,
wrong side out,
adjusting the zipper panel to the
correct edge of the cushion.
I opened each zipper a few inches so
that I could unzip it to take it off
once I was done pinning the top and bottom on.

Using the piping seam as a guideline,
I pinned the top and bottom seat panels
to the boxing.
This is the inside of the front edge of the cushion.

Each corner will end up being slightly rounded because
of the wrapped cushions.
I pinned it to fit snugly.
As fabric fibers relax from being sat on,
the cushions can get sloppy looking.
I wanted it to fit cleanly so I made it tight.

After I pinned it all the way around,
I reached into the unzipped area and
unzipped the rest of the cushion.
Then I VERY VERY VERY carefully
pulled the pinned cushion cover off
of the wrapped cushion.
I say very carefully because those sharp
pins stabbed me so many times on this step!
Then all that was left was to
sew those cushions together!
Once again, I used my zipper foot,
stitching on the piping seam to get
a snug seam for the cushions.
After I sewed on the piping seam,
I ran another row of stitches,
1/8" away from the first row,
as reinforcement.
I didn't even trim off the
excess fabric from the corners,
as that extra fabric provided a little more stability.
I turned the covers right side out!!!!!

And then I stuffed those wrapped cushions back into
the completed cushion covers,
and zipped them closed.
I covered a few old down throw pillows
with some plaid fabric from my stash,
and added some of the leftover
sofa slipcover piping.
Then I jumped up and down and did a gleeful
yet embarrassing happy dance!!!!!
Much whooping and hollering
and loud raucous singing took place at this point!!!
The old ugly sofa was completely hidden
and in it's place was exactly the sofa I had
dreamed of when I bought the fabric
all those years ago!!!!
Thank you for bearing with me
for these 3 long posts.
I hope they have made sense
and maybe even helped you
drum up the courage to take on the
daunting task of making a fitted slipcover
for your sofa.
Next up,
Back to school sewing!
Happy Sewing,
Sivje
2 comments:
Sivje, this is a fabulous project. You are gifted at so many different types of sewing but I bet you could make a serious living making slipcovers. Looks great!
Fantastic!
Post a Comment